



Author: Vitasystem team · Technical review: Large-format production department
Updated: 2026-07-26
Always start with the right template
The same visible size can require a different file depending on the construction. Sleeves, hems, pockets, joins and areas hidden after assembly are part of the technology of each specific product. So before you start designing, download the current template or ask for the guidelines.
Do not automatically transfer a design between different systems. An element that looks right on a flat banner may land on the fold of a display wall or disappear into the cassette of a roll-up.
Scale, bleed and safe margins
A design can be prepared at 1:1 scale or at the scale given in the specification. All dimensions, bleed and resolution must then keep the same proportion. It is worth clearing up any doubts before you start work, not during export.
The background should extend to the edge of the bleed area, while logos, text and important details should be kept away from the cut line, seams and mounting holes. A safe margin protects the design from normal production tolerances.
Resolution depends on scale and viewing distance
Not every large-format file needs an extremely high pixel count. What matters is the effective resolution at the final size and the viewing distance. That said, a small web graphic stretched over several metres will remain blurry whatever the export settings.
Assess your images at a magnification that matches their intended use. Portraits and product photos need more care than a soft background viewed from a distance. Vector graphics are best for logos, icons and simple shapes.
Colours, fonts and effects
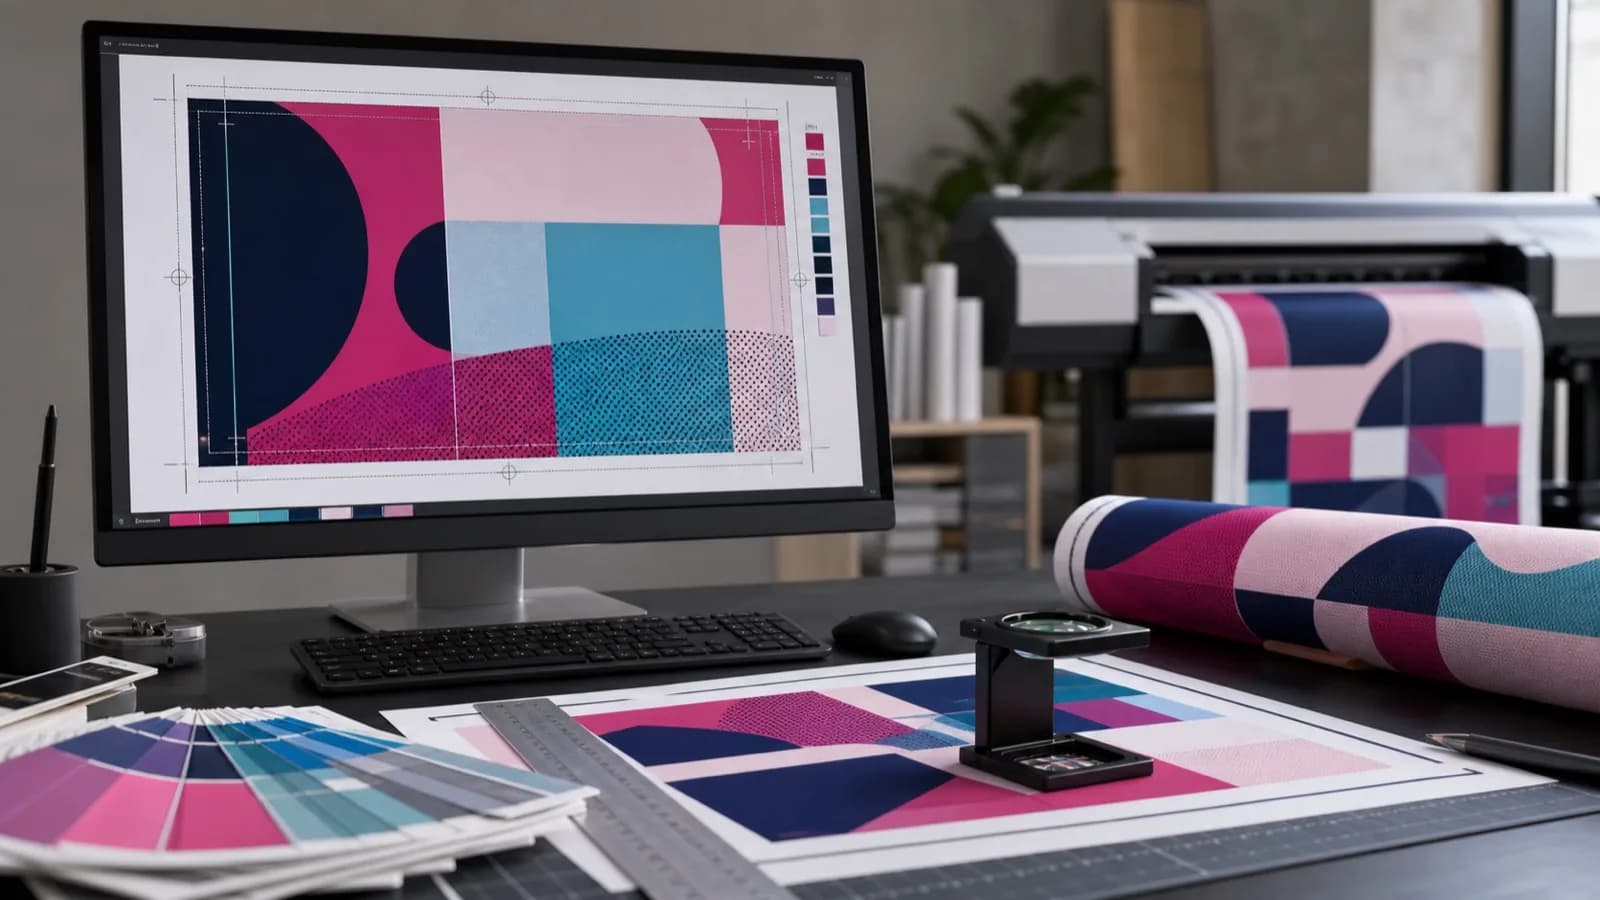
Work in the colour space recommended by the printer and use the appropriate profile if one is provided. Colours on a backlit monitor are not a physical print sample. For demanding brand colours, it is worth ordering a proof or a test print on the final material.
Convert fonts to outlines or embed them as specified. Check transparencies, shadows and blending modes after export. The safest approach is to open the final PDF on another device and look at every page.
Checks before sending
Name your files unambiguously and include a preview showing how they are arranged in the set. If the artwork has a specific mounting direction, note it in the order. Do not send further versions without saying which one is final.
- Current template and correct dimensions
- Background extended into the bleed
- Important elements within the safe area
- Adequate photo quality and vector logos
- Fonts, colours and effects checked in the final PDF
- Clear file name and a preview of the set
Practical values depend on the technology
There is no single bleed or resolution value that applies to every product. A banner with eyelets, a SEG fabric, a flag and a tent canopy are all finished differently. The current product template matters more than a generic checklist found online.
At 1:10 scale, the file resolution must be calculated taking the enlargement into account. For example, 300 ppi in a 1:10 file corresponds to roughly 30 ppi at the final size. The acceptable value depends on the viewing distance and the type of image, so it is worth discussing critical photos with us before export.
The most common mistakes in the final PDF
Frequent problems include white edges caused by missing bleed, thin technical lines left in the design, bitmap logos and text too close to a seam. Unlabelled file versions are another issue, when the printer receives several attachments named “final”, “final2” and “final_final”.
After export, open the PDF in a separate program, switch off helper layers and inspect the corners at high magnification. Check the number of pages, the orientation, any spot colours and whether the QR code leads to the correct address.
- Remove die-cut lines from the print layer
- Do not scale small photos beyond their real quality
- Keep one clear production version
- Include a JPG showing how the set should be assembled
Example: designing a wide wall made of several panels
In a multi-panel system, the most important elements should not fall on the joins. Move logos, models' faces and small text into safe zones, and design the background so that small tolerances are not noticeable. Name each panel according to the assembly order.
When handing over the files, add a small preview of the whole wall with the panel numbers. Production and the person assembling the set then receive the same information, which reduces the risk of elements being swapped.




Comments
Loading comments…