


Author: Vitasystem team · Technical review: Large-format production department
Updated: 2026-07-26
First, define the wall's role
Before you choose a construction, decide what the wall needs to do. A company running small, intimate presentations needs a different solution from an exhibitor building an open stand in a large hall. The wall can be the main brand carrier, a backdrop for conversations, a partition screening off a storage area or an element that guides visitor flow.
Note down the dimensions of the available space, the build height permitted by the organiser and the directions from which the stand will be seen. This lets you judge not only the width of the system, but also whether a straight, curved or corner shape will work better.
- Visibility from the main aisle
- Space for conversations and product presentation
- The option to screen off a technical area
- The floor space needed once the structure is set up
Fabric, pop-up or modular?
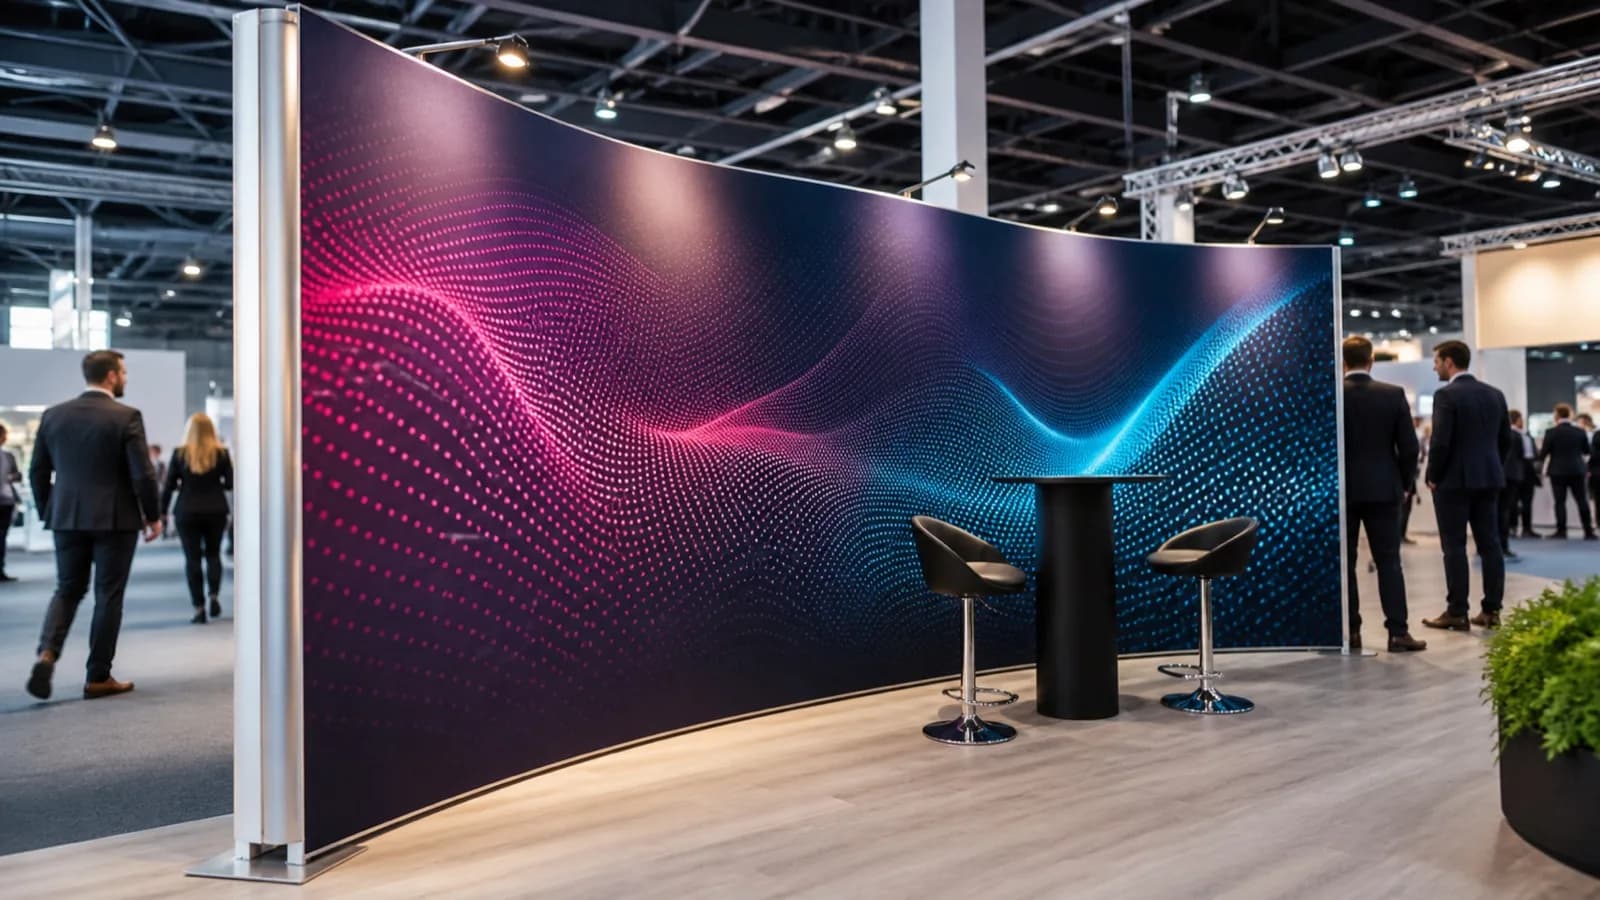
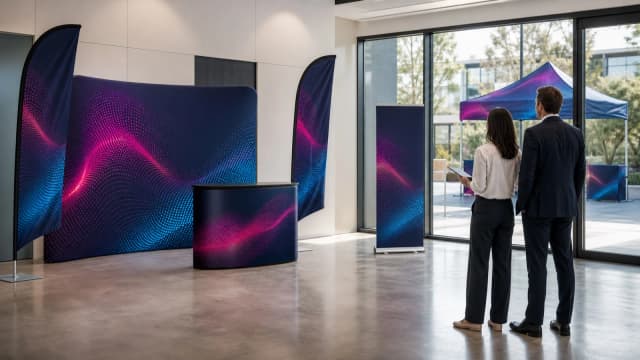
Fabric walls are light, modern and look good in photos. The stretch artwork reduces reflections and, after the event, can be folded into a small bag. Pop-up systems set up quickly and create a large surface without complicated assembly. Modular constructions, meanwhile, offer the greatest freedom to expand and change the layout.
If you attend many events, check the availability of replacement graphics and parts. Being able to order a new fabric cover without buying the whole structure lowers the cost of future campaigns and makes it easier to promote different offers.
The format should support the space
The biggest wall is not always the best. On a small stand, an overly wide structure can restrict access and make the space feel cramped. On the other hand, a system that is too low will disappear among tall stands around it. Keep free space around the service point and place the key message above the line of furniture and people's heads.
When planning the artwork, keep the framing in mind. Your logo and slogan should not fall on module joins or behind the counter. It is worth assessing the design at the scale of the whole stand, not just in a flat preview.
Transport, assembly and safety
The weight of the set matters when the structure travels by car, plane or courier. Check the bag dimensions, the number of packages and whether one person can manage the assembly. A well-designed system does not require improvised tools and comes with clear instructions.
At outdoor events, use only solutions designed for those conditions. An indoor wall is no substitute for a wind-resistant structure. The safety of visitors takes priority over visual impact.
A short checklist before ordering
Send the supplier the stand plan, the event date and details of how the set will be transported. Ask for confirmation of the artwork dimensions and a visualisation before printing. If the system is to last several seasons, choose a neutral construction and an interchangeable fabric cover to suit the current campaign.
- Stand dimensions and organiser limits
- Indoor or outdoor use
- How often it will be transported and set up
- The option to replace just the artwork
- Time for design, approval and production
Details worth including in your enquiry
A good request for a quote should include the width and height of the available space, the planned viewing direction, the number of events per year and who will be assembling the set. Also state how it will be transported. A structure that fits in a sales rep's car can be a better buy than an impressive system that needs separate transport.
Ask about the packed dimensions, the weight of the heaviest package, the artwork material, whether it can be washed or cleaned and the price of a replacement cover. If the stand will be photographed, choose a fabric that reduces reflections and check that the frame does not show through light areas of the design.
- Target format and dimensional tolerance of the stand
- Weight of the set and size of the transport packaging
- Assembly time for one or two people
- Availability of replacement artwork and spare parts
- Warranty terms for the structure and the print
The most common buying mistakes
The most common mistake is simply buying the largest available surface. A wall that is too wide takes up space for conversations, can block access to the storage area and makes it harder to meet the organiser's guidelines. The second mistake is judging only the product photo without checking the packaging, weight and assembly sequence.
It is also not worth designing the artwork before choosing a specific construction. Every system has different joins, hidden areas and safe margins. Confirm the model and format first, then use its current template.
Example: a 3 × 3 m stand staffed by two people
On a typical 3 × 3 m stand, a wall about 2.3–3 m wide placed along the back edge works well, together with a small counter and a clear entrance area. The logo and main benefit should sit above visitors' head height, while the lower part of the design can stay calmer, as it is often hidden by people and furniture.
If the same team attends several events a month, the priorities should be tool-free assembly, one clearly labelled bag and the option to buy new artwork. This choice usually gives a better cost per use than a heavy one-off build.



Comments
Loading comments…