



Author: Vitasystem team · Technical review: Large-format production department
Updated: 2026-07-26
Why is the 3 × 3 m format so versatile?
Nine square metres is enough for an information point, a counter, product samples and a small storage area. The tent still fits on many standard event pitches and can be transported without a specialist vehicle. It is a practical format for brands appearing at fairs, sporting events, tastings and promotional campaigns.
Before buying, however, check not only the roof size but also the leg spread once erected, the walk-through height and the total area needed for the weights. Organisers may require walkways to be kept clear.
The frame determines everyday convenience
You will most often come across steel and aluminium frames. Steel tends to be heavier, while aluminium makes frequent transport easier. More important than the name of the material are the profile cross-sections, the quality of the connectors, a smooth mechanism and the availability of spare parts.
Put the tent up as a trial before the first event. Check the locks, the height adjustment and how the roof is fastened. The frame should move evenly, without sudden jerks or overstretching the fabric.
Roof, walls and artwork
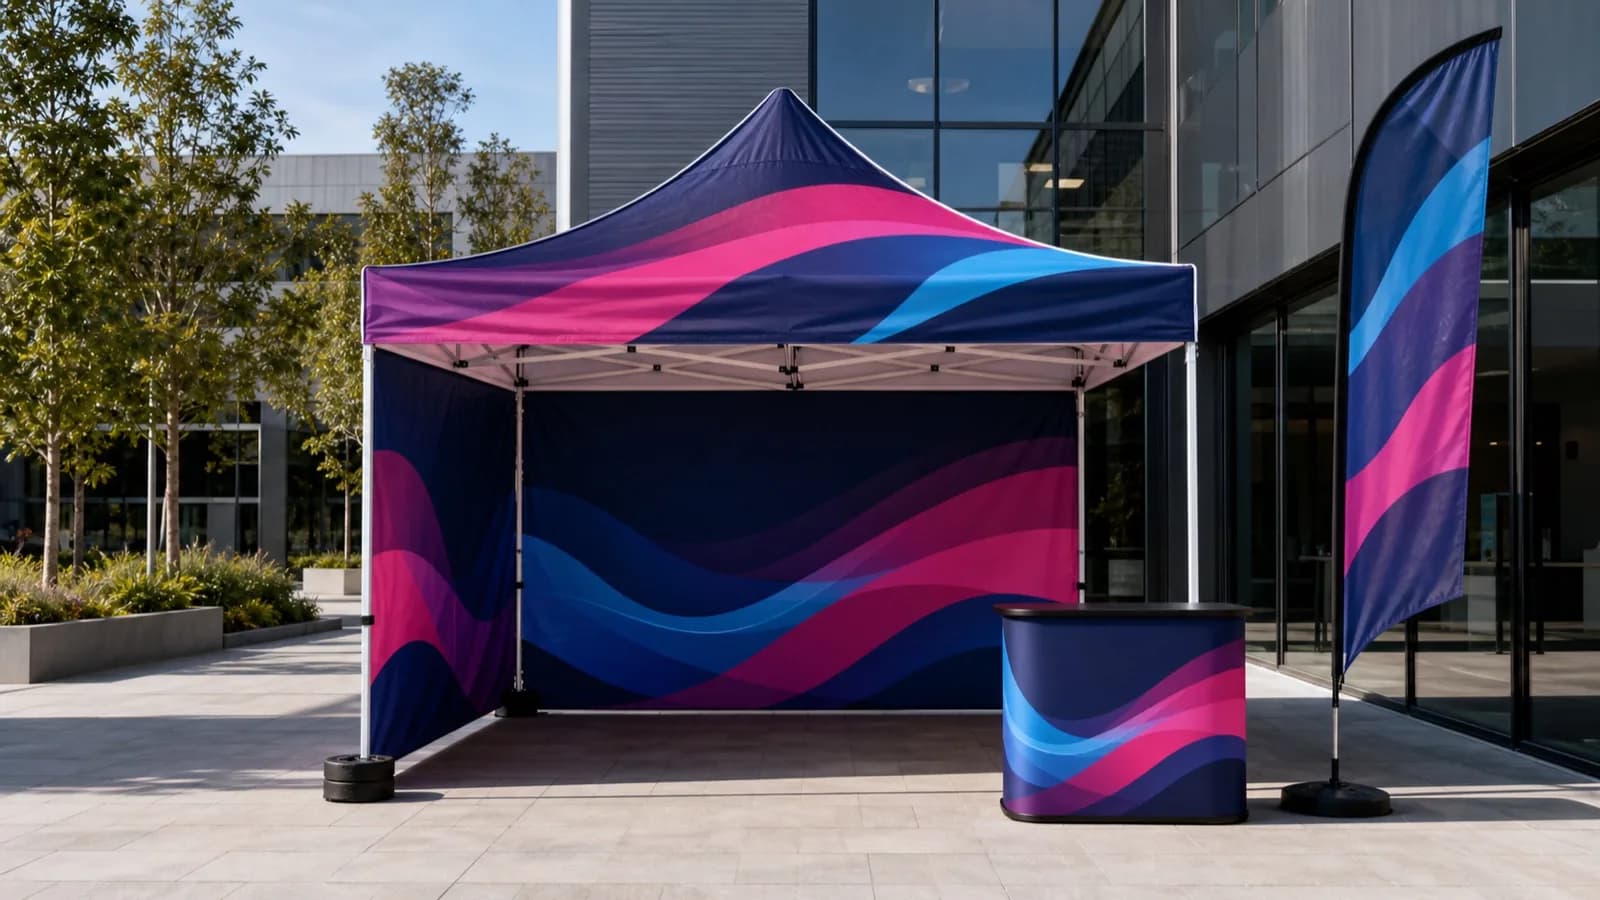
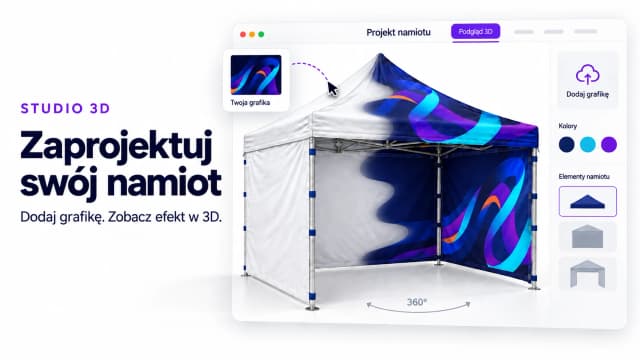
A printed roof is visible from a distance, and the side walls create a large communication surface while sheltering the stand. You do not always need four closed sides. One full wall can act as a backdrop, and half walls make it easier to talk to visitors.
Design each element as part of a single system. The logo should be legible on the valance, while larger images and slogans are better placed on the walls. Avoid important details near seams, hook-and-loop fasteners and the edges of the structure.
Anchoring and weather conditions
Every outdoor tent must be properly anchored or weighted in line with the instructions. The type of ground determines the choice of securing method: you will use a different solution on grass than on paving or concrete. Do not rely on the furniture and equipment inside the tent.
Keep an eye on the forecast and respond to changing conditions. Walls increase the surface area exposed to the wind. If the manufacturer or organiser recommends taking the structure down, do so in good time.
What should a complete set include?
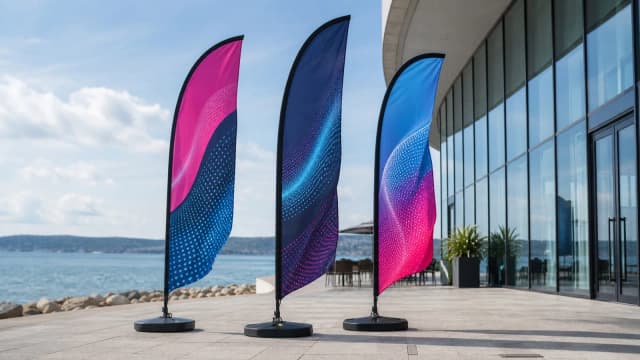
A good event set includes more than a frame and a roof. A transport bag, a full set of fixings, weights and clear instructions shorten preparation and reduce the risk of something missing on site. It is also worth ordering a counter or a flag in the same visual identity.
- Frame with mechanism and height adjustment
- Printed roof and selected walls
- Securing method suited to the ground
- Bags for the frame and fabric elements
- Time set aside for a trial assembly
Specifications worth asking the seller for
Ask for the total weight of the frame, the weight of each package, the height adjustment range, the folded dimensions and the list of available parts. For the canopy, what matters is the finishing, the durability of the print, whether it can be cleaned and whether the roof and walls can be ordered separately.
Do not judge a tent's resistance solely on a general marketing claim. Safe use always depends on the instructions, the type of ground, correct weighting and the current weather conditions. Event organisers may apply stricter requirements.
The most common mistakes before the first event
Doing the first assembly only at the event venue is an unnecessary risk. A trial run lets you learn the set-up sequence, check that all fixings are present and label the walls. A second mistake is choosing weights without taking the ground into account, or using random objects to secure the tent.
Too many full walls also cause problems. A closed structure can make contact with visitors harder and react more strongly to the wind. The wall layout should follow from the stand's function, the direction of visitor flow and the safety recommendations.
- Do a trial assembly and photograph the sequence
- Label every wall and bag
- Match the securing method to the ground
- Agree a procedure for worsening weather
Example: a mobile tasting stand
For a tasting stand, a printed roof, a back wall as a backdrop and one half wall to organise the queue are usually enough. The counter should leave comfortable access for staff, and your stock of products must not replace proper weights.
The logo on the valance works at a greater distance, while the product message on the back wall is read up close. Separating these functions produces a clearer design than repeating the same layout on every element.



Comments
Loading comments…